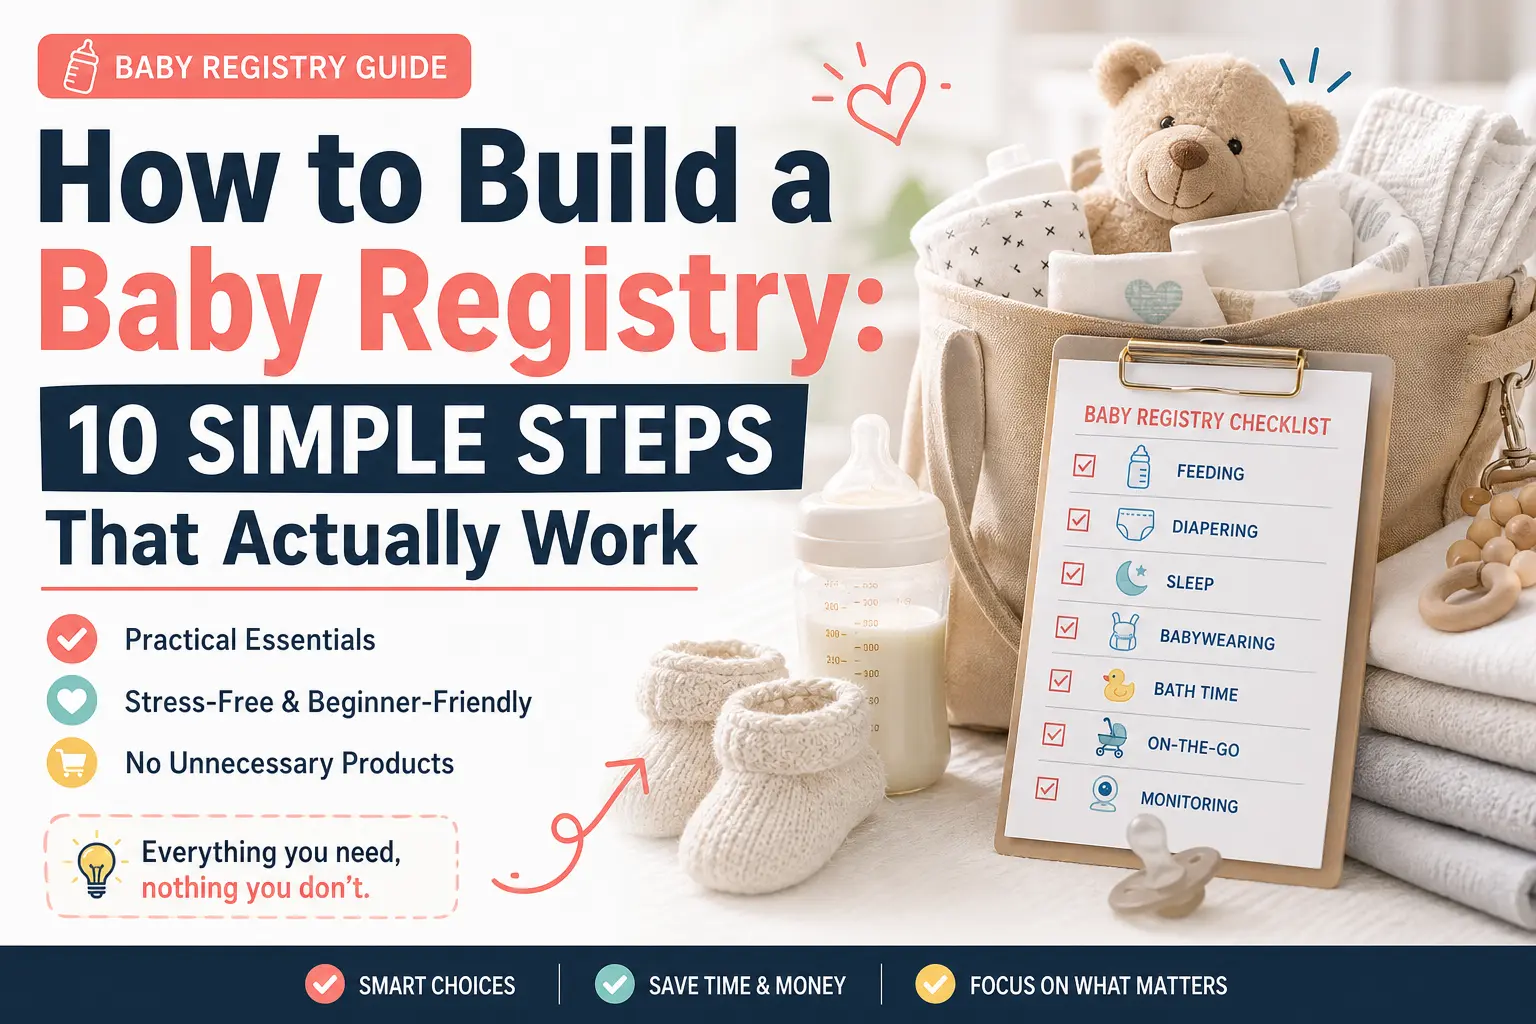
How to Build a Baby Registry: 10 Simple Steps That Actually Work
How to Build a Baby Registry: 10 Simple Steps That Actually Work
Not sure how to build a baby registry without overbuying or feeling overwhelmed? This step-by-step guide will help you create a practical registry that actually works in real life.
👉 See the Full Baby Registry Must-HavesBuilding a baby registry sounds simple at first.
Then you open Amazon… and suddenly there are thousands of options.
A bottle set? Sure.
A wipe warmer? Maybe.
A baby lounger with 8,000 reviews? Now you’re not so sure.
That is where most first-time parents get stuck.
If you are trying to figure out how to build a baby registry without buying every cute product online, start with structure instead of shopping.
The truth is, building a baby registry is not about adding everything you might need.
It is about choosing what you will actually use.
This guide will walk you through how to build a baby registry step by step — without overbuying, overthinking, or wasting money.
How to build a baby registry?
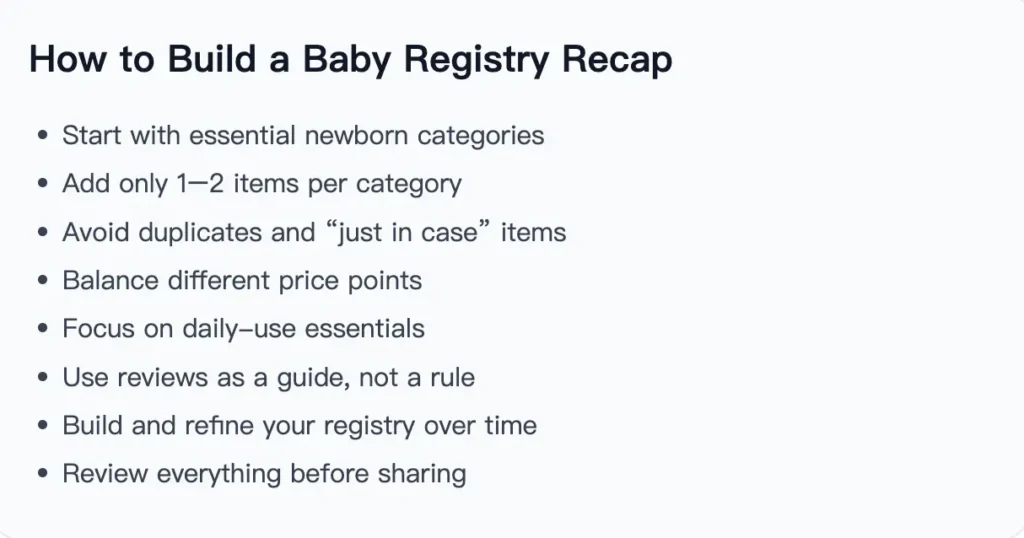
To build a baby registry, start with essential newborn categories, add a few practical items in each category, avoid duplicates, balance price points, and refine your list before sharing it.
- Start with daily-use essentials
- Add 1–2 items per category
- Avoid duplicates and “just in case” products
- Include different price points
- Review and refine before sharing
Step 1: Start With Essential Categories
The easiest way to build a baby registry is to think in categories before you think in brands.
Before adding products, start with the main areas of newborn life.
A simple baby registry should cover:
- Feeding
- Diapering
- Sleep
- Babywearing
- Monitoring
- Bath time
- On-the-go gear
This gives your registry structure.
It also keeps you from adding random products just because they look useful in the moment.
Instead of asking, “Do I need this product?” ask:
“Which part of daily baby care does this help with?”
If you want a simple starting point, use this checklist:
👉 Simple Baby Registry Checklist for First-Time Parents
Step 2: Add Only 1–2 Items Per Category
You do not need five versions of the same product.
A good registry starts small.
For example:
- 1–2 bottle options
- 1 diaper setup
- 1 baby carrier
- 1 sleep solution
- 1 monitor option
You can always add more later.
This is especially important for first-time parents because you will not know every preference before your baby arrives.
Some babies like one bottle shape. Some do not. Some parents love wraps. Others prefer structured carriers.
Start with enough to be prepared, not so much that your home turns into a baby gear warehouse.
For a smaller list, read:
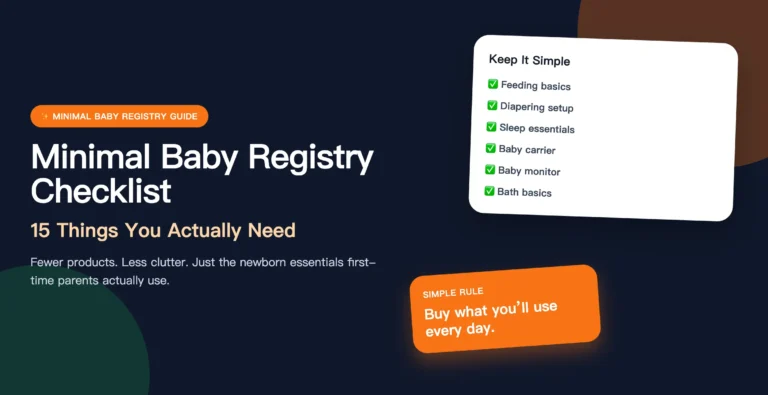
👉 Minimal Baby Registry Checklist: 15 Things You Actually Need
Step 3: Avoid Adding “Just in Case” Items
One of the biggest registry mistakes is adding things “just in case.”
Just in case the baby hates this.
Just in case we need that.
Just in case some product solves a problem we do not even have yet.
Most of those items never get used.
A better approach is simple:
Start with what solves real problems today.
You can add specialty products later if a real need appears.
That means skipping products that are mostly decorative, complicated, duplicated, or based on fear.
Avoid common mistakes here:
👉 What NOT to Put on a Baby Registry: 12 Mistakes to Avoid

Step 4: Balance Different Price Points
Not everyone shopping your registry has the same budget.
Some people want to buy a small gift.
Some want a practical mid-range item.
Some close family members may want to help with a bigger essential.
That is why a good registry should include different price points.
A balanced registry might include:
- Small items: pacifiers, crib sheets, medicine dispenser
- Mid-range essentials: swaddles, diaper bag, white noise machine
- Bigger items: baby monitor, carrier, stroller, car seat
This makes your registry easier for friends and family to shop.
It also keeps the list from feeling intimidating.
A registry with only expensive products can feel hard to use. A balanced one gives people options.
Step 5: Focus on Daily-Use Products
The best baby registry items are usually the ones you will use every single day.
Think about real newborn routines:
- Feeding
- Diaper changes
- Sleep
- Soothing
- Carrying
- Bath time
- Leaving the house
Daily-use products matter more than cute extras because they help during the moments that happen again and again.
A baby registry should support your real life, not just look cute online.
If a product does not support one of those daily routines, it probably does not need to be one of your first picks.
Step 6: Don’t Commit to One Brand Too Early
Babies have preferences.
That sounds obvious, but it surprises a lot of first-time parents.
Some babies like one bottle. Some refuse it.
Some sleep better in one swaddle style. Some hate it.
Some parents love one carrier style. Others find it uncomfortable.
So instead of buying full sets too early, start with one or two options.
This is especially true for:
- Bottles
- Pacifiers
- Swaddles
- Baby carriers
You can always buy more later once you know what works.
That is a much better strategy than filling drawers with products your baby may never use.
Step 7: Use Reviews as a Guide, Not a Rule
Amazon reviews can be helpful.
They can also make you feel completely confused.
One parent says a product changed their life.
Another says it was a total waste of money.
Both may be telling the truth.
The key is to look for patterns.
Ask:
- Is the product easy to use?
- Does it solve a clear problem?
- Are complaints about quality or personal preference?
- Does it fit your home, budget, and routine?
Reviews are useful, but they are not a replacement for thinking through your own needs.
If you are building on Amazon, this guide helps:
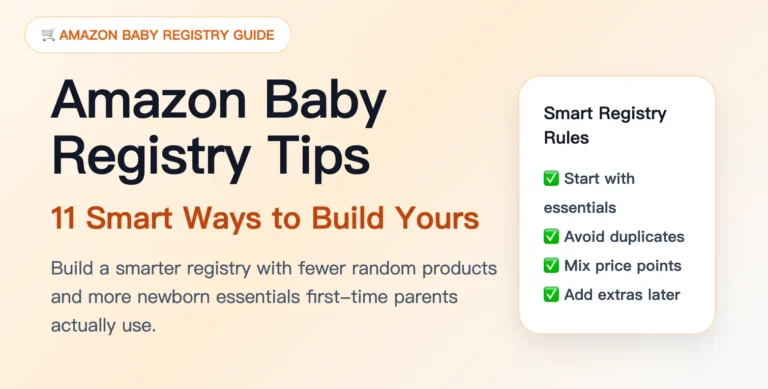
👉 Amazon Baby Registry Tips for First-Time Parents
Step 8: Build Your Registry Over Time
You do not need to finish your registry in one day.
Actually, it is better if you do not.
Start early. Add your main essentials. Then refine the list as you learn more.
This helps you avoid panic adding.
It also gives you time to compare products, adjust quantities, and remove things that no longer make sense.
Wondering when to start?
👉 When to Start a Baby Registry
Step 9: Keep Your Registry Simple
A simple registry is easier to manage.
It is also easier for other people to shop.
More items do not mean better preparation.
Sometimes more items just create more decisions, more clutter, and more confusion.
A shorter list makes it easier to notice:
- duplicates
- missing basics
- products that do the same job
- items you added out of panic
Less clutter usually leads to better choices.
That is the whole point of learning how to build a baby registry the smart way.
Step 10: Review Before Sharing
Before sharing your registry, take one final pass.
Look for:
- Duplicate products
- Too many items from one category
- Missing daily-use essentials
- Only expensive items
- Products you do not understand
- Items added just because they looked cute
A clear registry is always better than a long one.
Once you know how to build a baby registry, the process feels much less overwhelming because every item has a clear purpose.
Ready to build your baby registry?
Now that you know how to build it, use our full checklist to make sure you do not miss the newborn essentials that actually matter.
👉 See the Full 20-Item Baby Registry ListQuick Recap
For general newborn care guidance, you can also read the
American Academy of Pediatrics baby care resources.
For general newborn care and safe baby product guidance, you can also refer to American Academy of Pediatrics baby care resources .
FAQ: How to Build a Baby Registry
How many items should be on a baby registry?
Most first-time parents can start with 15 to 25 practical items and adjust over time. The goal is not to add everything, but to cover feeding, diapering, sleep, babywearing, monitoring, bath time, and on-the-go basics.
What should I add first to my baby registry?
Start with daily-use essentials: feeding supplies, diapering basics, swaddles, a baby monitor, a baby carrier, bath items, and a diaper bag. Add cute extras later.
Is it better to keep a baby registry small?
Yes. A smaller, focused registry is usually easier to manage and more useful in real life. You can always add more products later if a real need appears.
What is the easiest way to build a baby registry?
The easiest way to build a baby registry is to start with core categories like feeding, diapering, sleep, babywearing, monitoring, bath time, and on-the-go gear. Then add a few practical items in each category.